


下载vscode
去官网https://code.visualstudio.com/下载最新版本就可以了
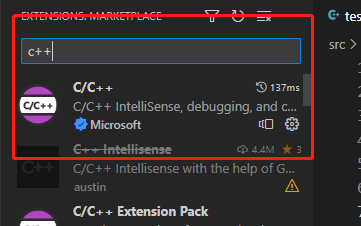
 下载后打开vscode,安装C++扩展
 目前就先配置到这里,以后的配置留给下面介绍。
下载mingw
去mingw官网下载压缩包 https://sourceforge.net/projects/mingw-w64/files/ 下载速度慢的话可以去我的网盘下载,整理了mingw和boost的安装包
链接: https://pan.baidu.com/s/1IJSyQqdf-lbuFG12FhDt2A?pwd=2dhi 提取码: 2dhi
选择x86_64-win32-seh,当然选择x86_64-posix-seh也可以。一个是windows线程,一个是posix线程。
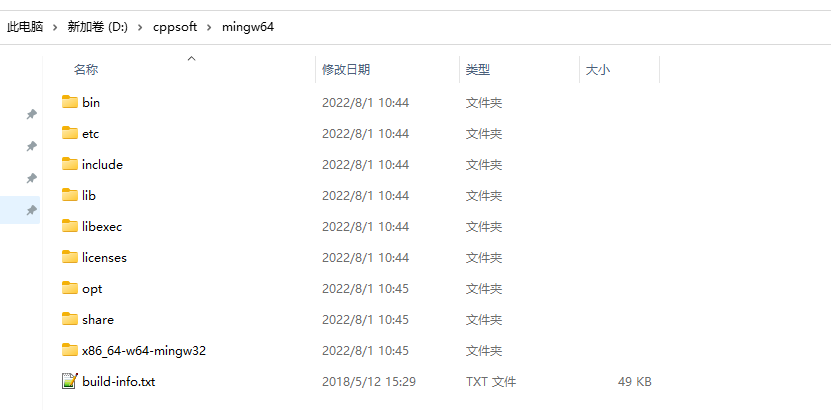
 下载后解压缩到指定文件夹,我的目录为 D:\cppsoft\mingw64
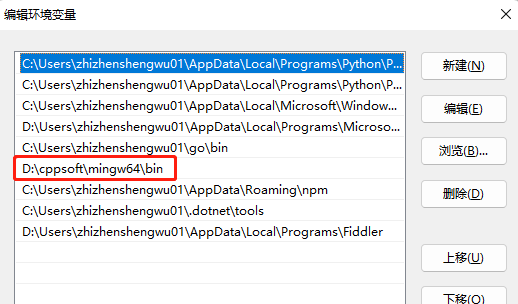
 配置环境变量,选择用户的环境变量path, 添加D:\cppsoft\mingw64\bin,具体路径看你自己的配置
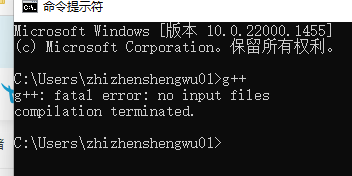
 测试是否配置成功,打开cmd,在里面输入g++或者gcc,如果输出no input files 则说明配置成功
配置vscode C++开发环境
主要分为配置编译器信息,配置构建任务task.json以及配置调试设置lauch.json文件三个步骤。
配置编译器信息
在vscode界面按住Ctrl + Shift + P 唤出配置界面
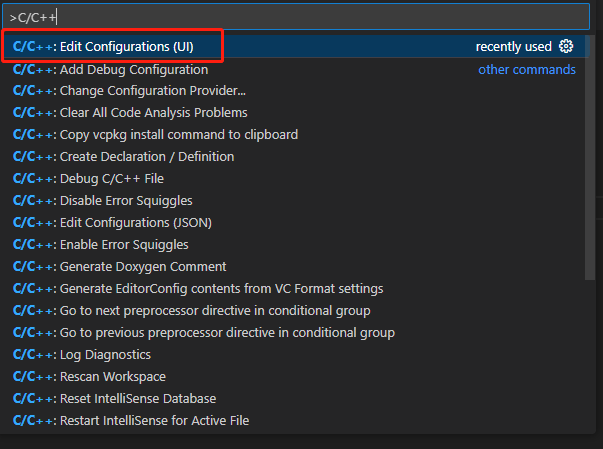
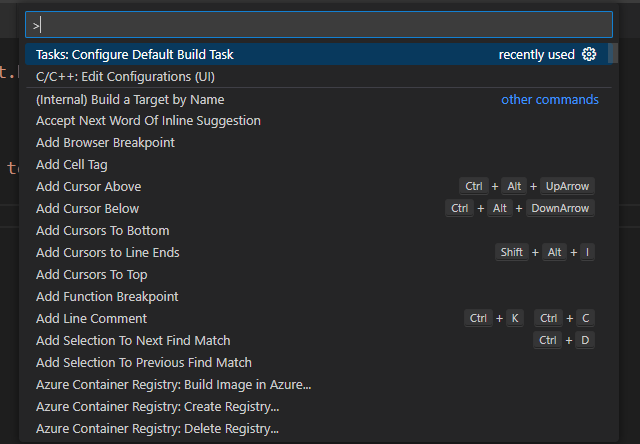 在输入栏输入C/C+, 选择“Edit Configurations(UI)”进入配置
 配置编译器路径和IntelliSense模式,我的路径是D:/mingw64/bin/g++.exe
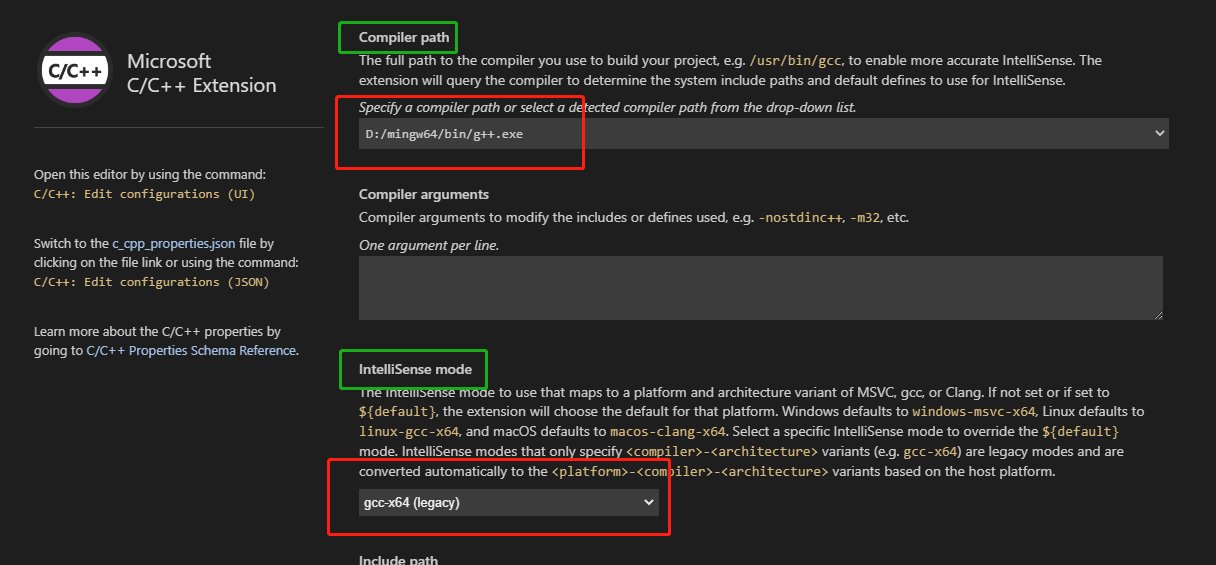 另外要注意配置Include path,其他人的博客很少提及这点,这里着重说一下
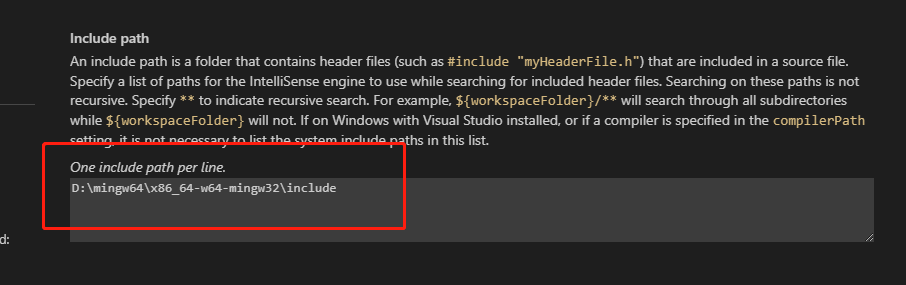 上述情况配置好include路径后,包含第三方库才不会报错,否则会有错误提示。
ctrl+s保存后会生成一个.vscode文件夹,.vscode文件夹里有一个c_cpp_properties.json文件,记录了我们配置的编译器信息。
上述情况配置好include路径后,包含第三方库才不会报错,否则会有错误提示。
ctrl+s保存后会生成一个.vscode文件夹,.vscode文件夹里有一个c_cpp_properties.json文件,记录了我们配置的编译器信息。
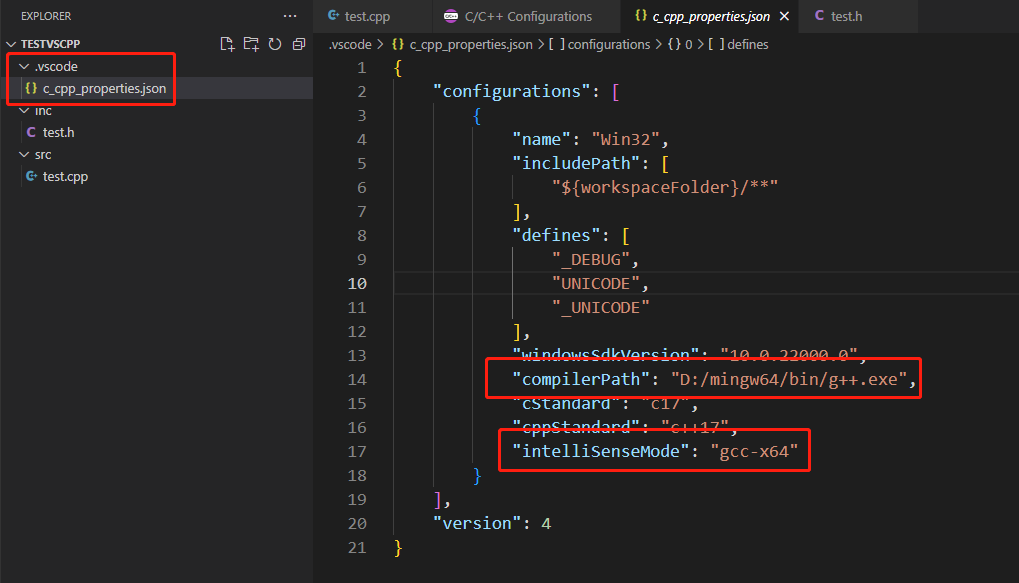 json文件信息如下
{
    "configurations": [
        {
            "name": "Win32",
            "includePath": [
                "${workspaceFolder}/**"
            ],
            "defines": [
                "_DEBUG",
                "UNICODE",
                "_UNICODE"
            ],
            "windowsSdkVersion": "10.0.22000.0",
            "compilerPath": "D:/mingw64/bin/g++.exe",
            "cStandard": "c17",
            "cppStandard": "c++17",
            "intelliSenseMode": "gcc-x64"
        }
    ],
    "version": 4
}
配置构建任务
配置任务之前我们先写一个.cpp和.h文件用来测试,组织形式如下
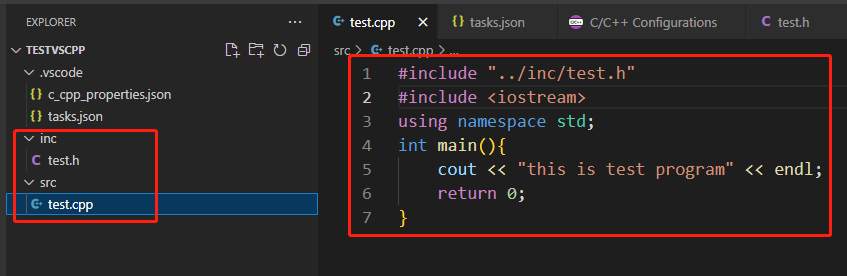 然后选中左侧目录树的cpp文件,保证我们所有的配置都是基于cpp构建的。
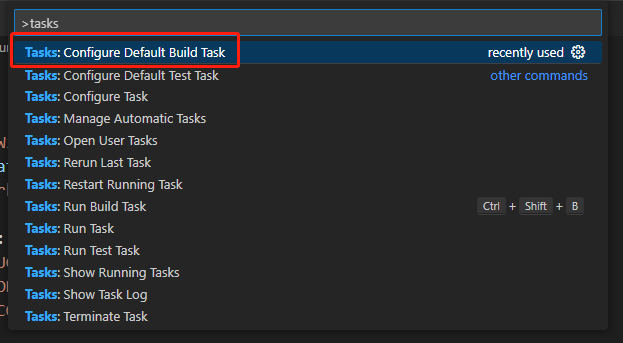
接下来,创建一个tasks.json文件来告诉VS Code如何构建(编译)程序。该任务将调用g++编译器基于源代码创建可执行文件。 按快捷键Ctrl+Shift+P调出命令面板,输入tasks,选择“Tasks:Configure Default Build Task”:
然后选中左侧目录树的cpp文件,保证我们所有的配置都是基于cpp构建的。
接下来,创建一个tasks.json文件来告诉VS Code如何构建(编译)程序。该任务将调用g++编译器基于源代码创建可执行文件。 按快捷键Ctrl+Shift+P调出命令面板,输入tasks,选择“Tasks:Configure Default Build Task”:
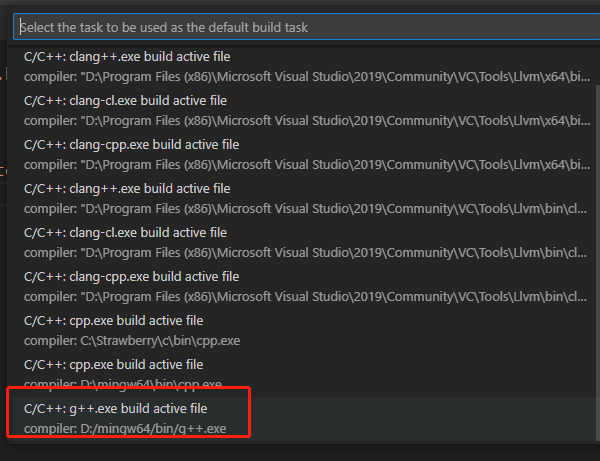
 可以看到vscode列举出我的电脑已经安装的所有C++编译器,这里选择
再选择“C/C++: g++.exe build active file”,这是我们刚刚安装的mingw编译器
可以看到vscode列举出我的电脑已经安装的所有C++编译器,这里选择
再选择“C/C++: g++.exe build active file”,这是我们刚刚安装的mingw编译器
 点击后vscode为我们自动生成了task.json文件
 详细的task.json配置信息如下
{
    "version": "2.0.0",
    "tasks": [
        {
            "type": "cppbuild",
            "label": "C/C++: g++.exe build active file",
            "command": "D:/mingw64/bin/g++.exe",
            "args": [
                "-fdiagnostics-color=always",
                "-g",
                "${file}",
                "-o",
                "${fileDirname}\\${fileBasenameNoExtension}.exe"
            ],
            "options": {
                "cwd": "D:/mingw64/bin"
            },
            "problemMatcher": [
                "$gcc"
            ],
            "group": {
                "kind": "build",
                "isDefault": true
            },
            "detail": "compiler: D:/mingw64/bin/g++.exe"
        }
    ]
}
配置调试设置
同样选中左侧目录树的cpp文件,保证我们所有的配置都是基于cpp构建的。
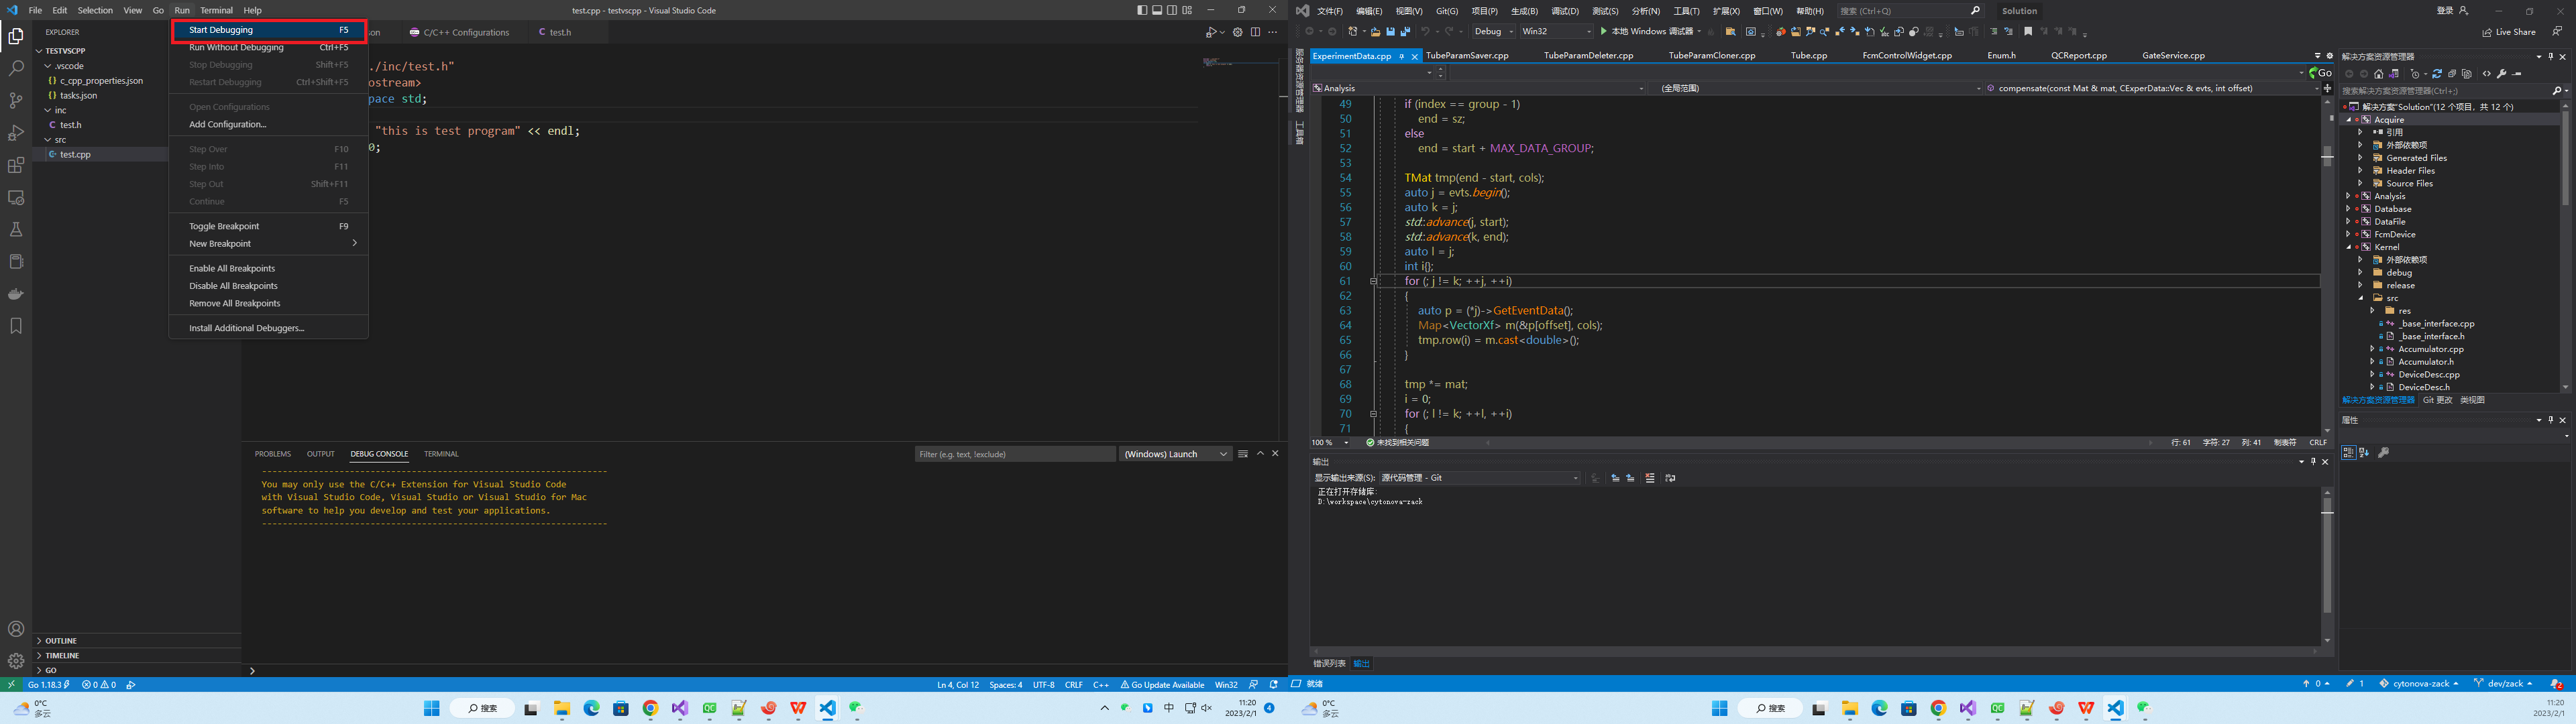
这里主要是为了在.vscode文件夹中产生一个launch.json文件,用来配置调试的相关信息。点击菜单栏的Debug-->Start Debugging:
 接下来选择C++(GDB/LLDB), 当然你选择windows的也可以。
 紧接着会产生一个launch.json的文件。
这里有的人没有生成launch.json文件,而是直接运行成功了,可以不配置launch.json文件了。
如果生成launch.json文件,则如下
紧接着会产生一个launch.json的文件。
这里有的人没有生成launch.json文件,而是直接运行成功了,可以不配置launch.json文件了。
如果生成launch.json文件,则如下
{
    // Use IntelliSense to learn about possible attributes.
    // Hover to view descriptions of existing attributes.
    // For more information, visit: https://go.microsoft.com/fwlink/?linkid=830387
    "version": "0.2.0",
    "configurations": []
}
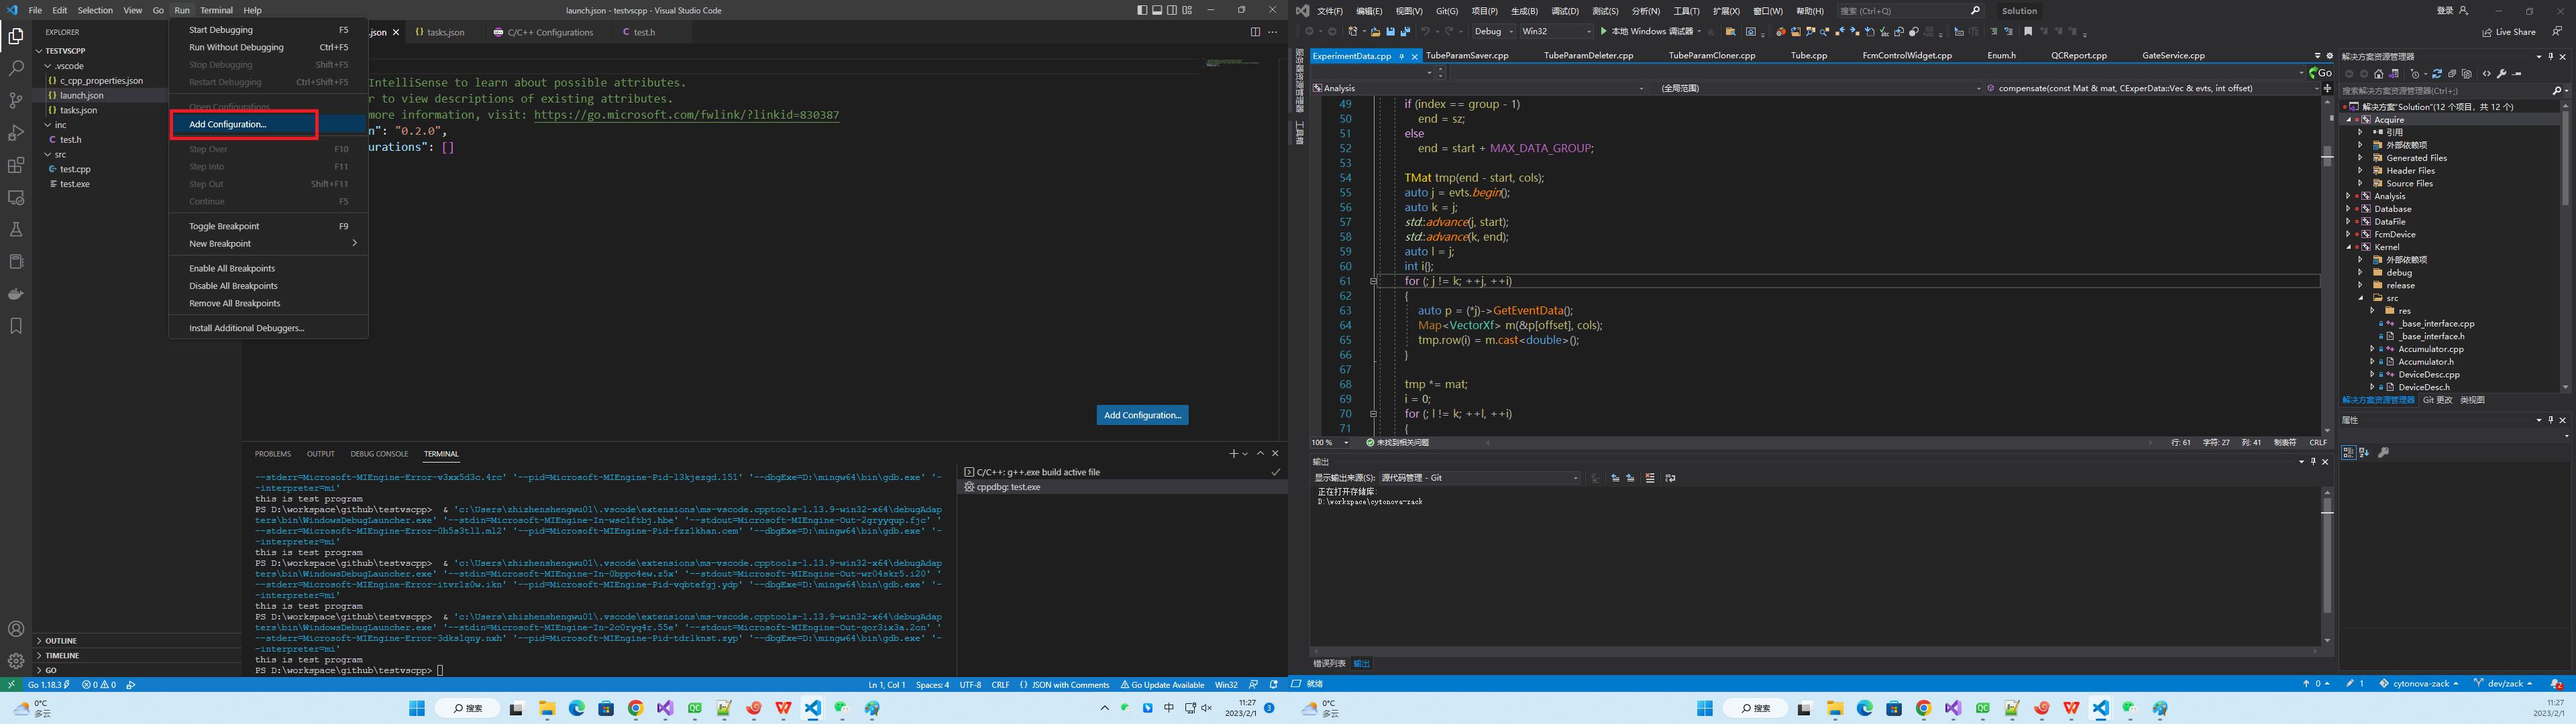
如果想生成launch.json还有一个办法,就是点击Run选择Add Configuration, 就可以生成launch.json文件了。
 关于launch.json文件的配置可以参考官方文档,大家可以直接用我的配置如下
{
    "version": "0.2.0",
    "configurations": [
        {
            "name": "g++.exe build and debug active file",
            "type": "cppdbg",
            "request": "launch",
            "program": "${fileDirname}\\${fileBasenameNoExtension}.exe",
            "args": [],
            "stopAtEntry": false,
            "cwd": "${workspaceFolder}",
            "environment": [],
            "externalConsole": true, //修改此项,让其弹出终端
            "MIMode": "gdb",
            "miDebuggerPath": "D:\\cppsoft\\mingw64\\bin\\gdb.exe",
            "setupCommands": [
                {
                    "description": "Enable pretty-printing for gdb",
                    "text": "-enable-pretty-printing",
                    "ignoreFailures": true
                }
            ],
            "preLaunchTask": "task g++" //修改此项
        }
    ]
}
miDebuggerPath 改为你自己的mingw路径 preLaunchTask 为任务名字,你可以自己定义一个任务名字,任务名字要和task.json中的label相匹配。我的名字为"task g++",那么我会将task.json中的label也改为"task g++"。我的task.json文件如下
{
    "version": "2.0.0",
    "tasks": [
        {
            "type": "cppbuild",
            "label": "task g++",
            "command": "D:/mingw64/bin/g++.exe",
            "args": [
                "-fdiagnostics-color=always",
                "-g",
                "${cwd}//src//*.cpp",
                "-o",
                "${fileDirname}\\${fileBasenameNoExtension}.exe"
            ],
            "options": {
                "cwd": "D:/mingw64/bin"
            },
            "problemMatcher": [
                "$gcc"
            ],
            "group": {
                "kind": "build",
                "isDefault": true
            },
            "detail": "compiler: D:/mingw64/bin/g++.exe"
        }
    ]
}
- 我们修改了label为"task g++"
- 我们修改了args中的-g选项为"${cwd}//src//*.cpp"
选择test.cpp再次运行,程序通过。
安装boost库
先去官网下载boost库最新版本 https://www.boost.org/users/download/ 选择windows版本下载,zip和7z格式的都可以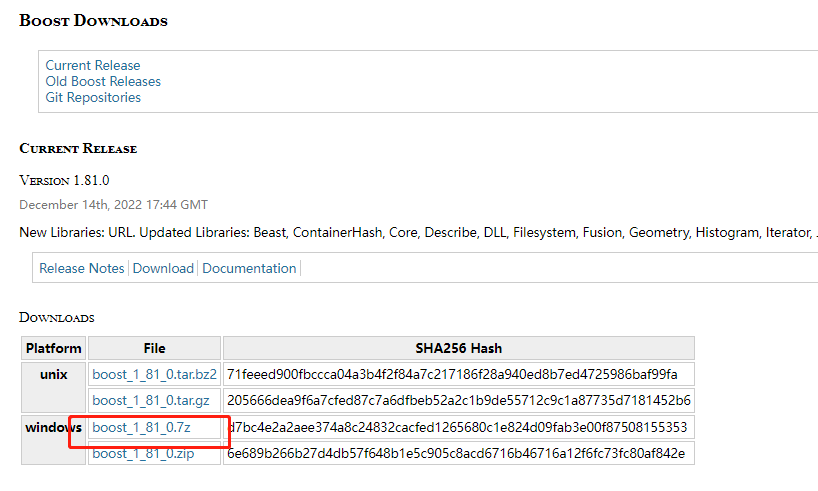 解压后文件夹下有个一个bootstrap.bat文件,双击运行会生成b2.exe
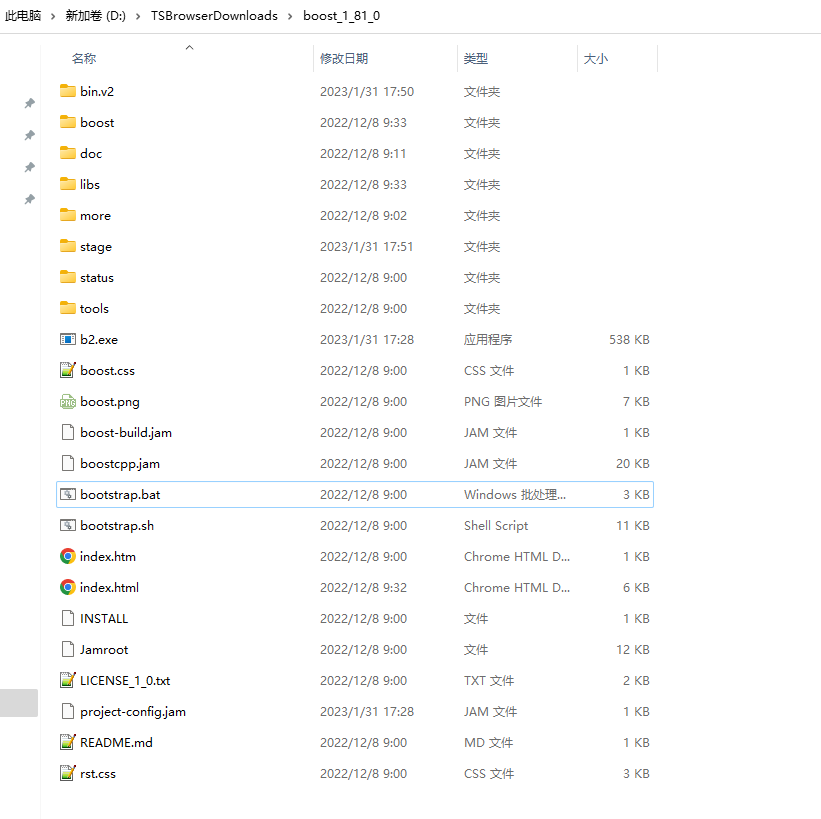 然后在boost文件夹下启动cmd,执行 ".\b2.exe toolset=gcc"
 编译时间和机器性能有关,执行编译过后,会在stage文件夹下生成lib文件夹,里面就是我们要用到的lib库。
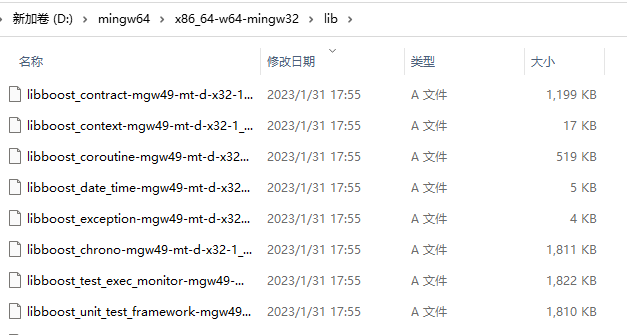
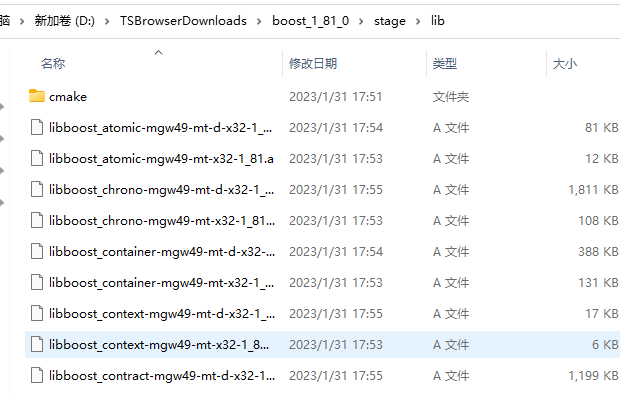 接下来需要将boost文件夹下的staget文件夹下的lib文件夹下的库放到mingw的文件夹下x86_64-w64-mingw32的文件夹下的lib文件夹内。
我的目录就是从"D:\TSBrowserDownloads\boost_1_81_0\stage\lib"复制到"D:\mingw64\x86_64-w64-mingw32\lib"。
接下来需要将boost文件夹下的staget文件夹下的lib文件夹下的库放到mingw的文件夹下x86_64-w64-mingw32的文件夹下的lib文件夹内。
我的目录就是从"D:\TSBrowserDownloads\boost_1_81_0\stage\lib"复制到"D:\mingw64\x86_64-w64-mingw32\lib"。
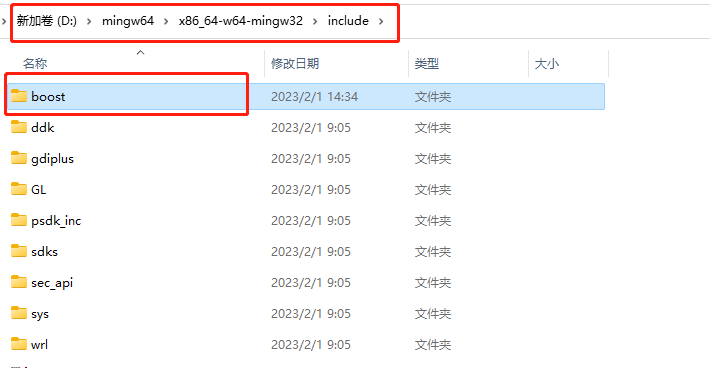
 同时也要把boost的头文件从boost文件夹下拷贝到x86_64-w64-mingw32的include文件夹下
也就是从"D:\TSBrowserDownloads\boost_1_81_0\boost"拷贝到D:\mingw64\x86_64-w64-mingw32\include
同时也要把boost的头文件从boost文件夹下拷贝到x86_64-w64-mingw32的include文件夹下
也就是从"D:\TSBrowserDownloads\boost_1_81_0\boost"拷贝到D:\mingw64\x86_64-w64-mingw32\include
测试boost库
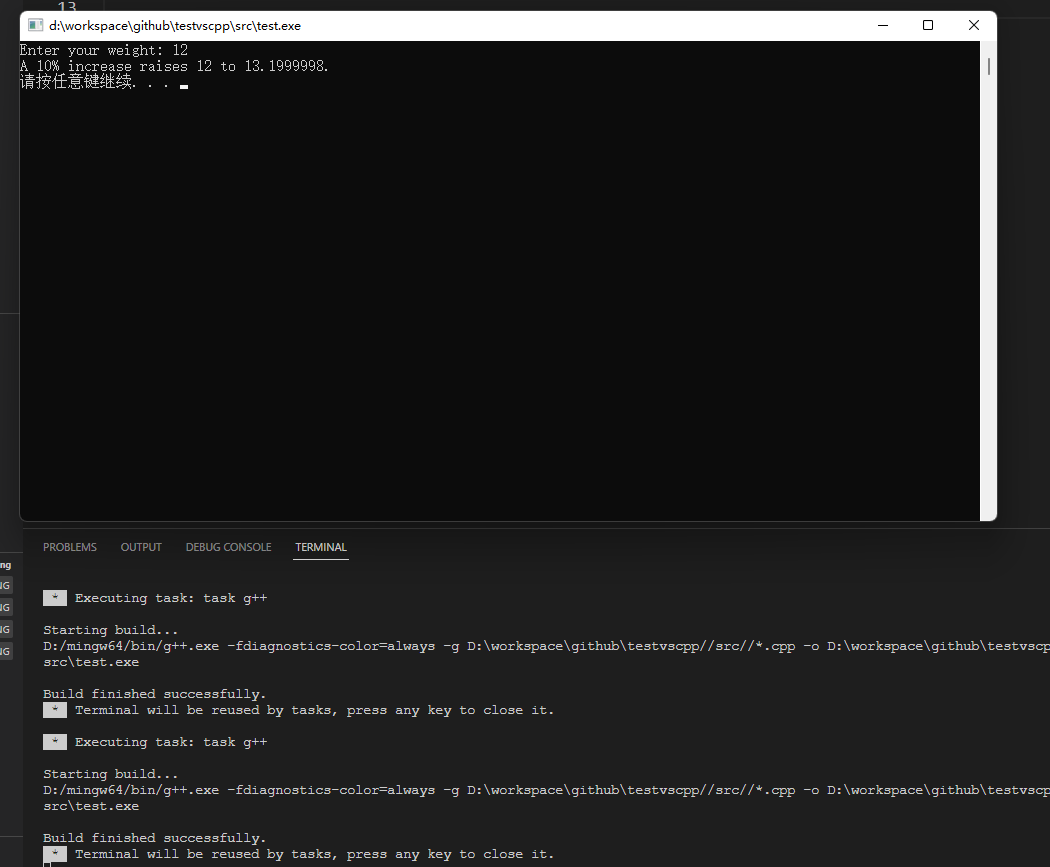
需要对已经配置完成的boost库进行测试,我们写一个程序, 替换原来的test.cpp的main函数
#include <iostream>
#include <string>
#include "boost/lexical_cast.hpp"

int main()
{
    using namespace std;
    cout << "Enter your weight: ";
    float weight;
    cin >> weight;
    string gain = "A 10% increase raises ";
    string wt = boost::lexical_cast<string> (weight);
    gain = gain + wt + " to ";      // string operator()
    weight = 1.1 * weight;
    gain = gain + boost::lexical_cast<string>(weight) + ".";
    cout << gain << endl;
    system("pause");
    return 0;
}
我们点击调试的三角符号或者菜单里的run命令,可以看到运行成功了,并且弹出了窗口
总结
我将配置好的项目demo提交到gitee了,感兴趣的可以看一看 项目地址 https://gitee.com/secondtonone1/testvscpp